Welcome to the enchanting world of flooring and the profound process of tile removal and replacement, an art that dances between structural preservation and new creation.
At Mudrak & Sons, we pride ourselves on providing an expert perspective on tiles and flooring. With an unwavering commitment to quality and a keen eye for aesthetics, we help you save money while sparking bright, transformative ideas for your living spaces.
Let’s embark on a journey into the mesmerising universe of tiles. Whether you’re ready for a complete overhaul or planning a touch-up without removing the existing structure, you’ve come to the right place.
But before we dive into the labyrinth of tile removal, it’s imperative to understand the core elements – the tile, floor and the elegant amalgamation of the two: the floor tile.
Unearthing the Basics: Tile, Floor and Floor Tile
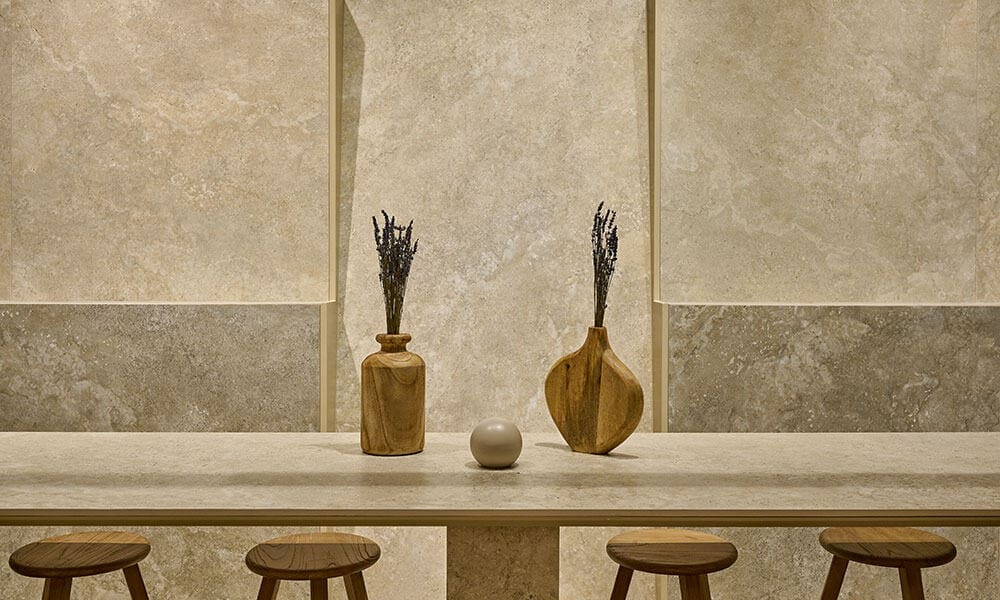
A tile, in all its myriad forms, is a piece of hard-wearing material, typically ceramic or stone, used to cover floors, walls, and other surfaces. ‘Flooring’ refers to the permanent covering of a floor. Combine these two, and you get a ‘floor tile’, a versatile and durable flooring option that has enlivened homes and offices for centuries.
Grasping these basics is the stepping stone towards giving your interior a fresh, new look. Be it ceramic tiles, vinyl flooring, or perhaps our favourite new kid on the block, peel-and-stick vinyl, the possibilities are as vast as your imagination. But what happens to the existing floor tiles, you ask? Here’s where it gets even more fun!
The Rationale Behind Tile Removal
Removing tiles. It sounds like an arduous task, doesn’t it? It doesn’t have to be! Under the right circumstances, tile removal can do wonders for your space. Whether the old tile has chipped, gathered too much permanent dust, or just lost its former lustre, removing and replacing it with new tile can breathe fresh life into your home.
But can we do this without damaging the surrounding tiles or affecting the underlayment or existing tile? Definitely! The secret lies in a strategic tile removal approach, carefully examining the transition between the old and new tiles. Protecting the surrounding tiles is possible as long as the chisel is used judiciously.
When done correctly, tile removal allows for beautiful transformations and expands your repertoire of flooring options. From replacing loose tile to preparing the floor for carpet, there are a plethora of directions you can take with this.
A Detailed Look Into Tile Removal Procedure
Tiling a room is a fantastic way to promote stylish interiors. However, when installing new flooring, the prior step is removing existing tilework.
Before you start, it’s crucial to understand the step-by-step guide to tile removal. Also, protective measures should be incorporated to minimise damage to the existing wall or floor.
- Keep a dust mask, goggles and gloves ready to protect you from flying tile pieces and sharp edges.
- Begin with removing grout lines. Use a grout-removing tool or a drill to remove the grout connecting the tiles carefully.
- Next, gently strike a chisel at a 45-degree angle with a mallet to remove each tile. Be careful not to damage any pipes or cables underneath.
- Use a floor scraper or pry bar to remove the remaining tile adhesive from the subfloor. It’s easier to remove when warmed with a heat gun or stripper.
- Finish the process by cleaning the area with a cleaner, and be ready to install new tiles.
Remember, whether you plan to do it yourself or require a tradesperson’s expertise, understanding the procedure will help you better communicate and supervise the project.
Innovative Solutions: Vinyl Flooring and Peel-and-stick Vinyl
Innovation has changed everything, even flooring. If the thought of tile removal seems daunting, there’s good news. Solutions like vinyl flooring and peel-and-stick vinyl are here to rescue you. They’re life-changing.
Vinyl flooring is sturdy, eye-catching, and, most importantly, easier to install. Peel-and-stick vinyl, conversely, is a revolution that eliminates the need for adhesive. These alternatives can co-exist with existing floorwork without disturbing it. You must prepare the subfloor, peel off the backing, and stick the vinyl tile right on top.
Voila! You can tile over existing surfaces effortlessly, changing the overall look without requiring much elbow grease.
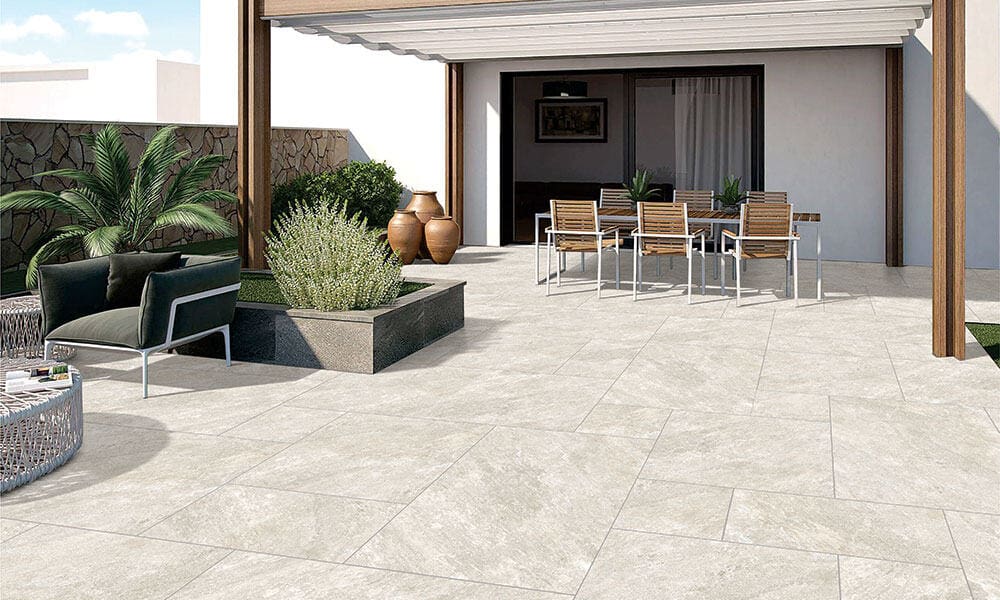
Going Beyond Tiles: Carpet, Wooden and Laminate Flooring
Upon embarking on the world of flooring, it’s crucial to consider all your options. In addition to traditional tiles, one can’t ignore the lure of alternatives such as carpet, wooden flooring, and laminate. These options invite a refreshing change for your interiors and limit any undue interruption to existing structures.
Firstly, carpet flooring offers a comforting alternative to cold tiles. Particularly useful for bedrooms and living spaces, carpets offer a cosy vibe.
Next, wooden flooring combines the sophistication of natural materials with a warming underfoot comfort. Available in several shades, from ash blonde to darkest ebony, wooden flooring breathes life into any decor.
Lastly, those seeking a cost-effective alternative should consider laminate. It not only mimics natural elements like stone or wood but is also easy to maintain and durable against scratches and spills. It’s very simple to simply use a damp wipe to whisk away any stains on the laminate.
‘Do it Yourself’ Vs Hiring a Tradesperson: A Comparative Analysis
In the world of flooring renovation, there are predominantly three options: doing it yourself, hiring a tradesperson, or a blend of both. Weighing the pros and cons of each approach is crucial to ensure cost-effectiveness and efficiency.
DIY projects can be cost-saving and fulfilling, transforming your house into a home on your terms. However, a step-by-step guide is necessary to ensure an error-free process.
An experienced tradesperson can ensure professional installation with greater efficiency and less hassle. They possess the expertise to handle complex projects, working around tricky corners or door frames.
Every option has its merits. It’s a matter of choosing the route that suits your skill level, the complexity of the project, and the allocated budget.
Clever Tips and Tools for Effective Tile Removal and Replacement
Knowledge, skills, and tools are paramount regarding tile removal and replacement. At Mudrak & Sons, we aim to make even the most daunting DIY tasks manageable. With a step-by-step guide and the right tools, you can even undertake this task without relying on professional services.
One of the most handy tools during tile removal is using a shovel to pry the tiles off the floor. This and applying appropriate force can make tile removal surprisingly straightforward. However, caution must be exercised to prevent damage to the underneath layer. Extra care will be required if you’re dealing with a plywood base.
Furthermore, peeling and sticking vinyl tiles is a blessing for replacing existing tiles. As easy as their names suggest, all you have to do is peel and stick. Use spacers to ensure regular distance between each tile for a neat result. To apply the stick vinyl tiles, remove the backing paper, align the tile to your desired position and press firmly.
Also, you can use a suction cup to adjust tiles precisely and avoid unnecessary movements once installed for a neat finish. And don’t forget the screed for an even floor level before your new tiles are laid.
Activities Beyond Replacement: A Cleaner Space
Removing tiles can be a messy job, and thorough cleaning is essential. Keeping the work area clean not only protects the aesthetics of your home but also ensures your safety during the project. Small debris and dust can be easily overlooked, so a meticulous approach is key.
Once you’ve removed all the large pieces of tile and debris, use a vacuum cleaner with a hose attachment to thoroughly remove dust and small particles. A damp microfiber cloth can be used for a final wipe-down for any remaining dust.
Maintaining a clean workspace throughout the project will make it smoother and improve the outcome.
Finishing Touches
Finally, consider adding a grout line sealant (optional) and a baseboard (also known as skirting) to enhance the overall look and provide a clean, finished appearance.